Awhile back I had noticed Layla’s gorgeous striped walls in her guest bedroom…and Michelle’s striped entry way. I was smitten with the STRIPES! So I convinced Eathan that we needed a few of our own!
And so the measuring and painting began! {P.S. You will have to bear with me on the photos…my camera broke when we started this project and I had to use my phone!!}
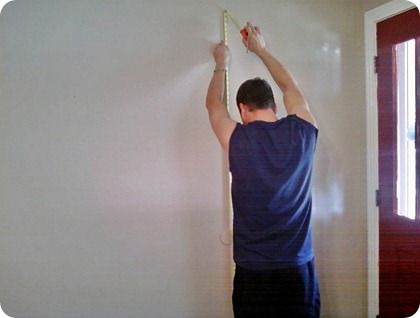
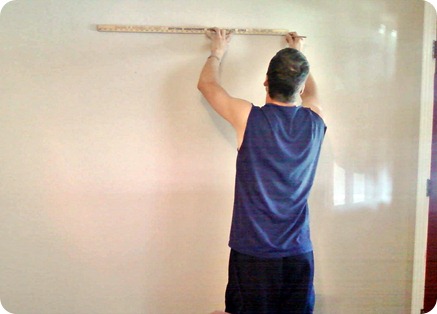
Eathan measured out the stripes for me and traced them with a pencil. I went back and taped everything and painted. It was a lot easier than I anticipated! We also used left-over white paint from another project so the cost of this project was f.r.e.e.
Our white stripes were 13” each and the beige were 21” each. We did this so that we had 2 large stripes going across the wall. And well so that my husband didn’t freak out too much about this little project! Te-he!
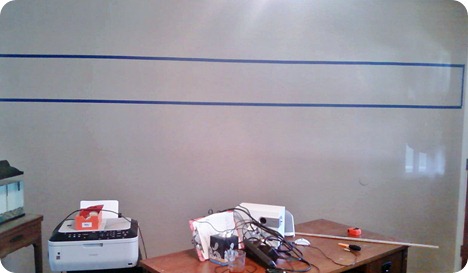
First stripe up!
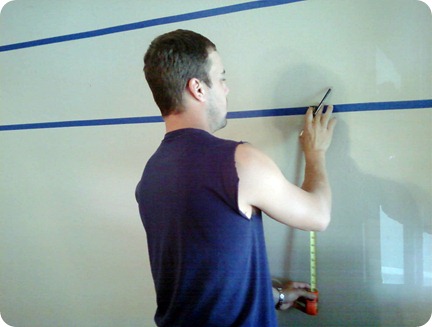
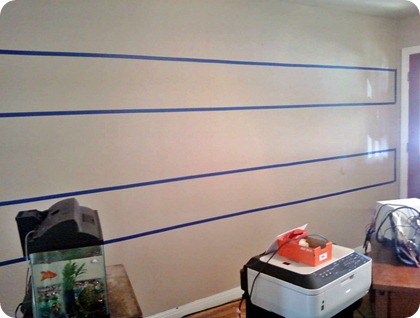
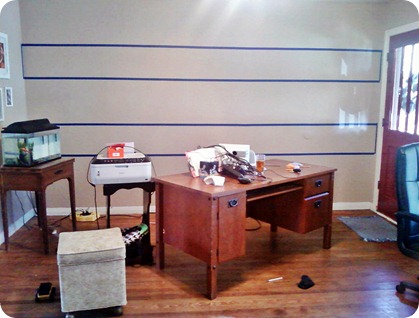
Two up and ready to paint now!
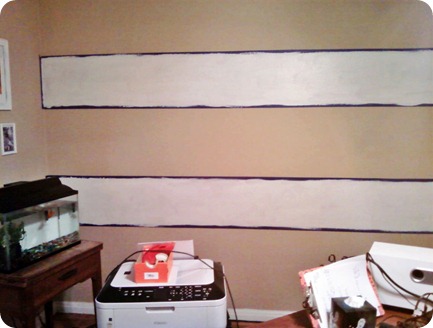
First coat….
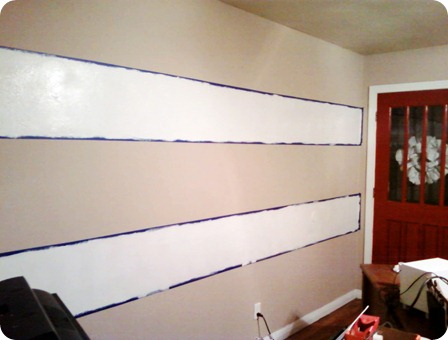
Second coat….

And the final product!!! Seriously…these two little stripes added SO MUCH CHARACTER to this room! I am totally in love! And I’m so scheming as to where I can paint more stripes!!
I also added another touch to my stripes wall. I have seen quite a few blogs with sunburst mirror tutorials. How cute are these little jewels! I had to make my own asap! So I found a sorta-kinda-roundish mirror at the thrift store…picked up a pack of BBQ skewers at the Dollar Tree and got to business!!
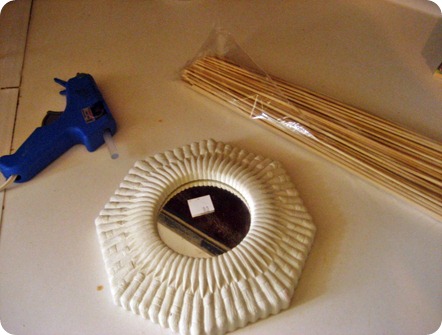
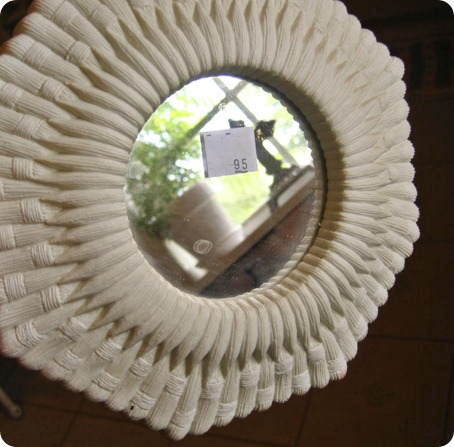
I spent a whopping 95 cents for the mirror and $1 for the skewers! Total price $1.95! {I already had the spray paint}
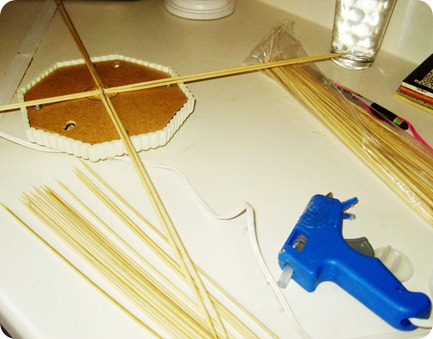
To start I just lined up the skewers and started gluing. No measuring or scientific process here. Glue and hope for the best!!! Although I did draw a little circle so I could see where the center was.
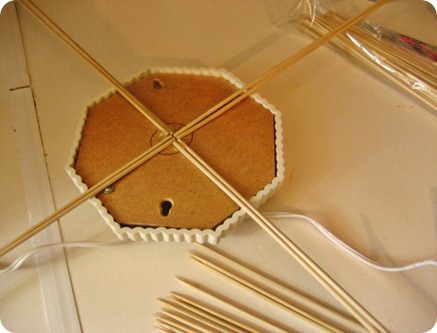
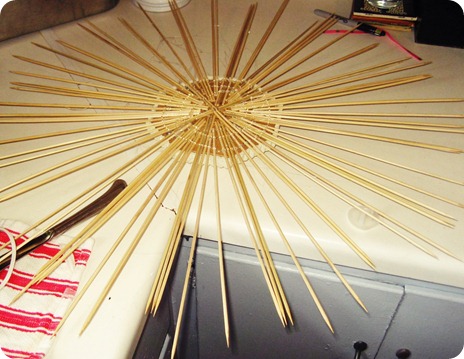
I just slowly worked my way around…gluing and building up as each area dried.
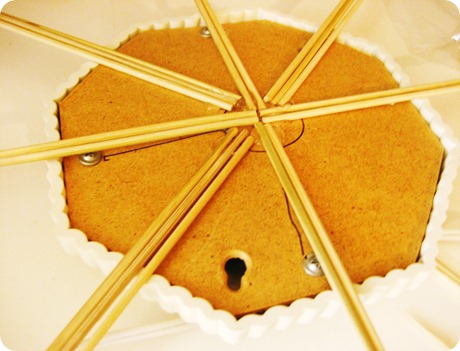
This is what it looked like when I finished.
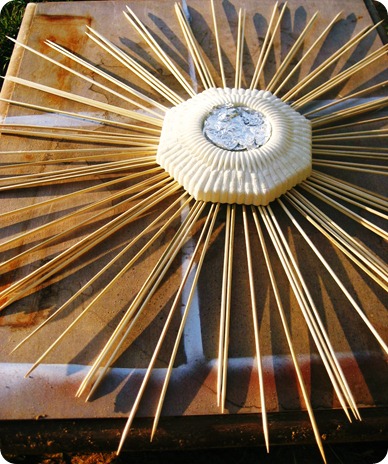
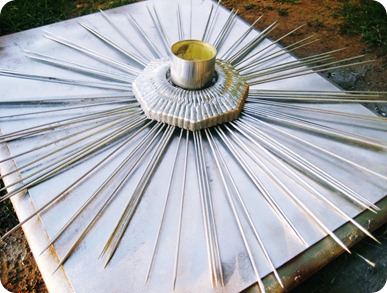
I covered the mirror part in foil…and started painting!
Here it is on the wall! L.O.V.E. it!!!


This project was so fun and easy that I am definitely making more! I’ve seen a few DARLING ideas that I want to try! I’ve also got to paint my desk white so that everything flows. I hope to post a pic of everything in this room once the furniture is painted! I’m on a mission to go all white for deco and furniture! Or as all white as I can go!!
Cheerios!





No comments:
Post a Comment